
Publishing a blog post on WordPress is a straightforward yet crucial step in sharing your content with the world. WordPress, as a user-friendly content management system, offers a platform where you can bring your meticulously crafted blog post to life.
Here is how we publish posts to ensure that they are perceived as helpful. The screenshots may differ slightly to what you see on your screen, but the principle will be the same.
- Add title and content to your post
- Format your headings
- Insert your images
- Publishing Settings
- Add a Featured Image
- Add an Excerpt
- Set Meta data
Add title and content to your post
- Write your post in Word/Docs. (How to plan and write a blog post to improve SEO ranking)
Sometimes the WordPress site will lose your work while you are editing, so save your work regularly in both platforms.
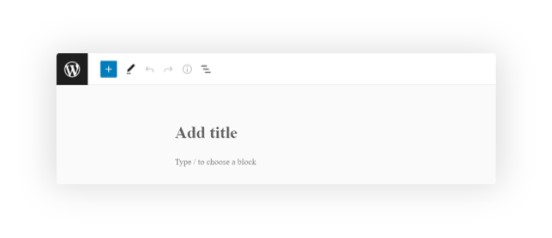
- Login to blog site. Choose Add New post.
- Copy and paste your post Title to the Add Title section.
- Copy and paste your post text to the Type / to choose a block section.
Do NOT paste images. For best results it is better to insert these separately.
Format your headings
- Click on a text heading.
- Click the Paragraph symbol ¶ and select Heading.
- Change the style to H2, H3 or H4 as required.

Insert your images
- Optimise your images before inserting.
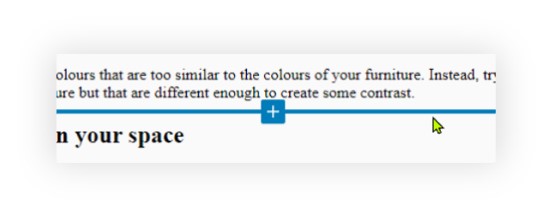
- Navigate to the place in your blog where you want to add an image.
- Hover your mouse just below the block before your intended image space and click Add Block +.
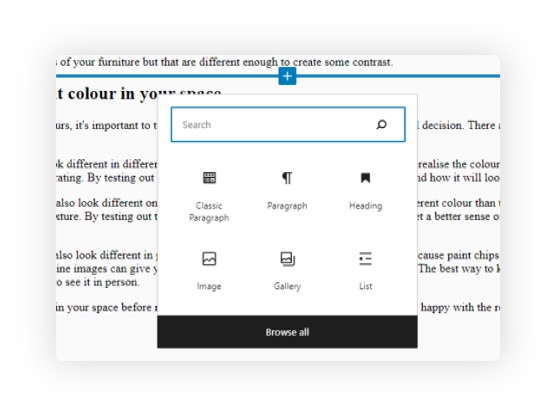
- Click the Image block type.
If Image is not included in the list, click Browse all and select it from the complete list.
Select or Add your image
- Click Media Library and insert your image using one of the following methods.
If the image is in your media library:
- Click on your image.
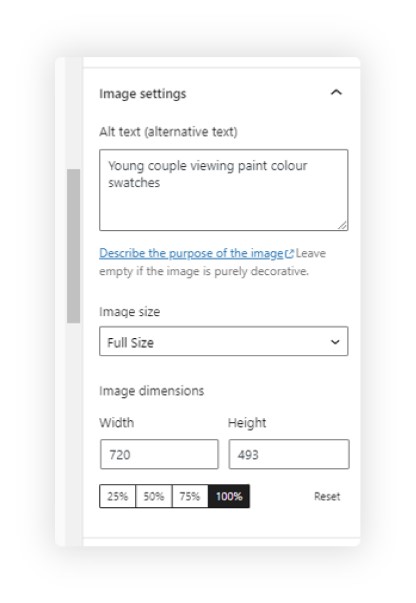
- Check to ensure that Alt Text has been added.
Alt Text is used to improve the user experience for blind people. The webpage will read the alt text to them so that they understand the page. Use your keywords in alt text as naturally as possible.
- Check to ensure that a Caption has been added if appropriate.
Captions improve the page experience for all users and give an opportunity to naturally use your keywords.
- Click Select to insert the image.
If the image is not in the media library:
- Click Upload files.
- Click Select files.
Navigate to where you saved your image and click on your image. - Click Open.
Follow steps 3-5 above to insert your image into your post.
- Review the image Alt text and size settings in the Block settings section in the right-hand panel.
Publishing Settings
-
Click Post to adjust publishing settings.
- Set the Publish date.
If you are adding a single post, you may wish to publish it immediately.
If you are publishing several posts on the same blog, it may be better to schedule them a few days apart.
- Set the Author name.
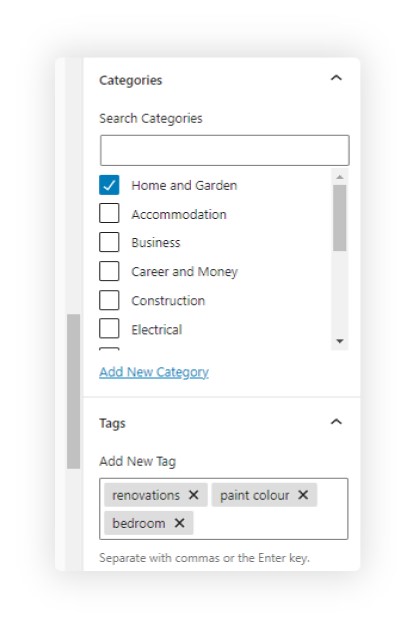
- Set the Categories that are most relevant to this post and its keywords.
Add a Featured Image
The featured image appears on the blog homepage next to the title and excerpt. Some blog themes also add the featured image to the top of the post.
- Click Set featured image in the setting column.
- Add a featured image for this post using the same method as inserting an image.
The featured image should have alt text added but does not need a caption.
Add an Excerpt
- An excerpt is the text that is shown on the blog homepage as an introduction to this post.
If you do not write an excerpt the blog will create one using the first few sentences of the post. If this will be unhelpful, write an excerpt that attracts readers.
Set Meta data
- The meta data includes the SEO Title, Slug and Meta Description.
- Navigate on the blog page to the Yoast SEO plugin section.
It is usually in the settings column at the right of the page, or underneath the post itself.
The SEO title
- The SEO title is the title shown in blue in the search results (see preview).
Yoast will automatically generate this using tags like Title, Page, Separator and Site. While this often works, it can create a very long title.
The green bar shows that this title is a good length. If the length is too long a red bar will appear. By adding or deleting the tags you can create the correct length.You can also delete the tags and simply write your own title.
The Slug
- The slug is the last part of the URL for this blog post. It is also known as the permalink. Yoast automatically generates the slug based on the title. So, if the title is optimised, the slug will be too.
Shorten the slug when you can to be more user-friendly, but do not remove keywords.
The Meta Description
- The meta description is an introduction or description to the post. It should be compelling and attract clicks through to the post.
Keep it between 130-150 characters long and use your keywords early in the description, as naturally as you can.
- Again, Yoast will add green or red bars to indicate the appropriate length.